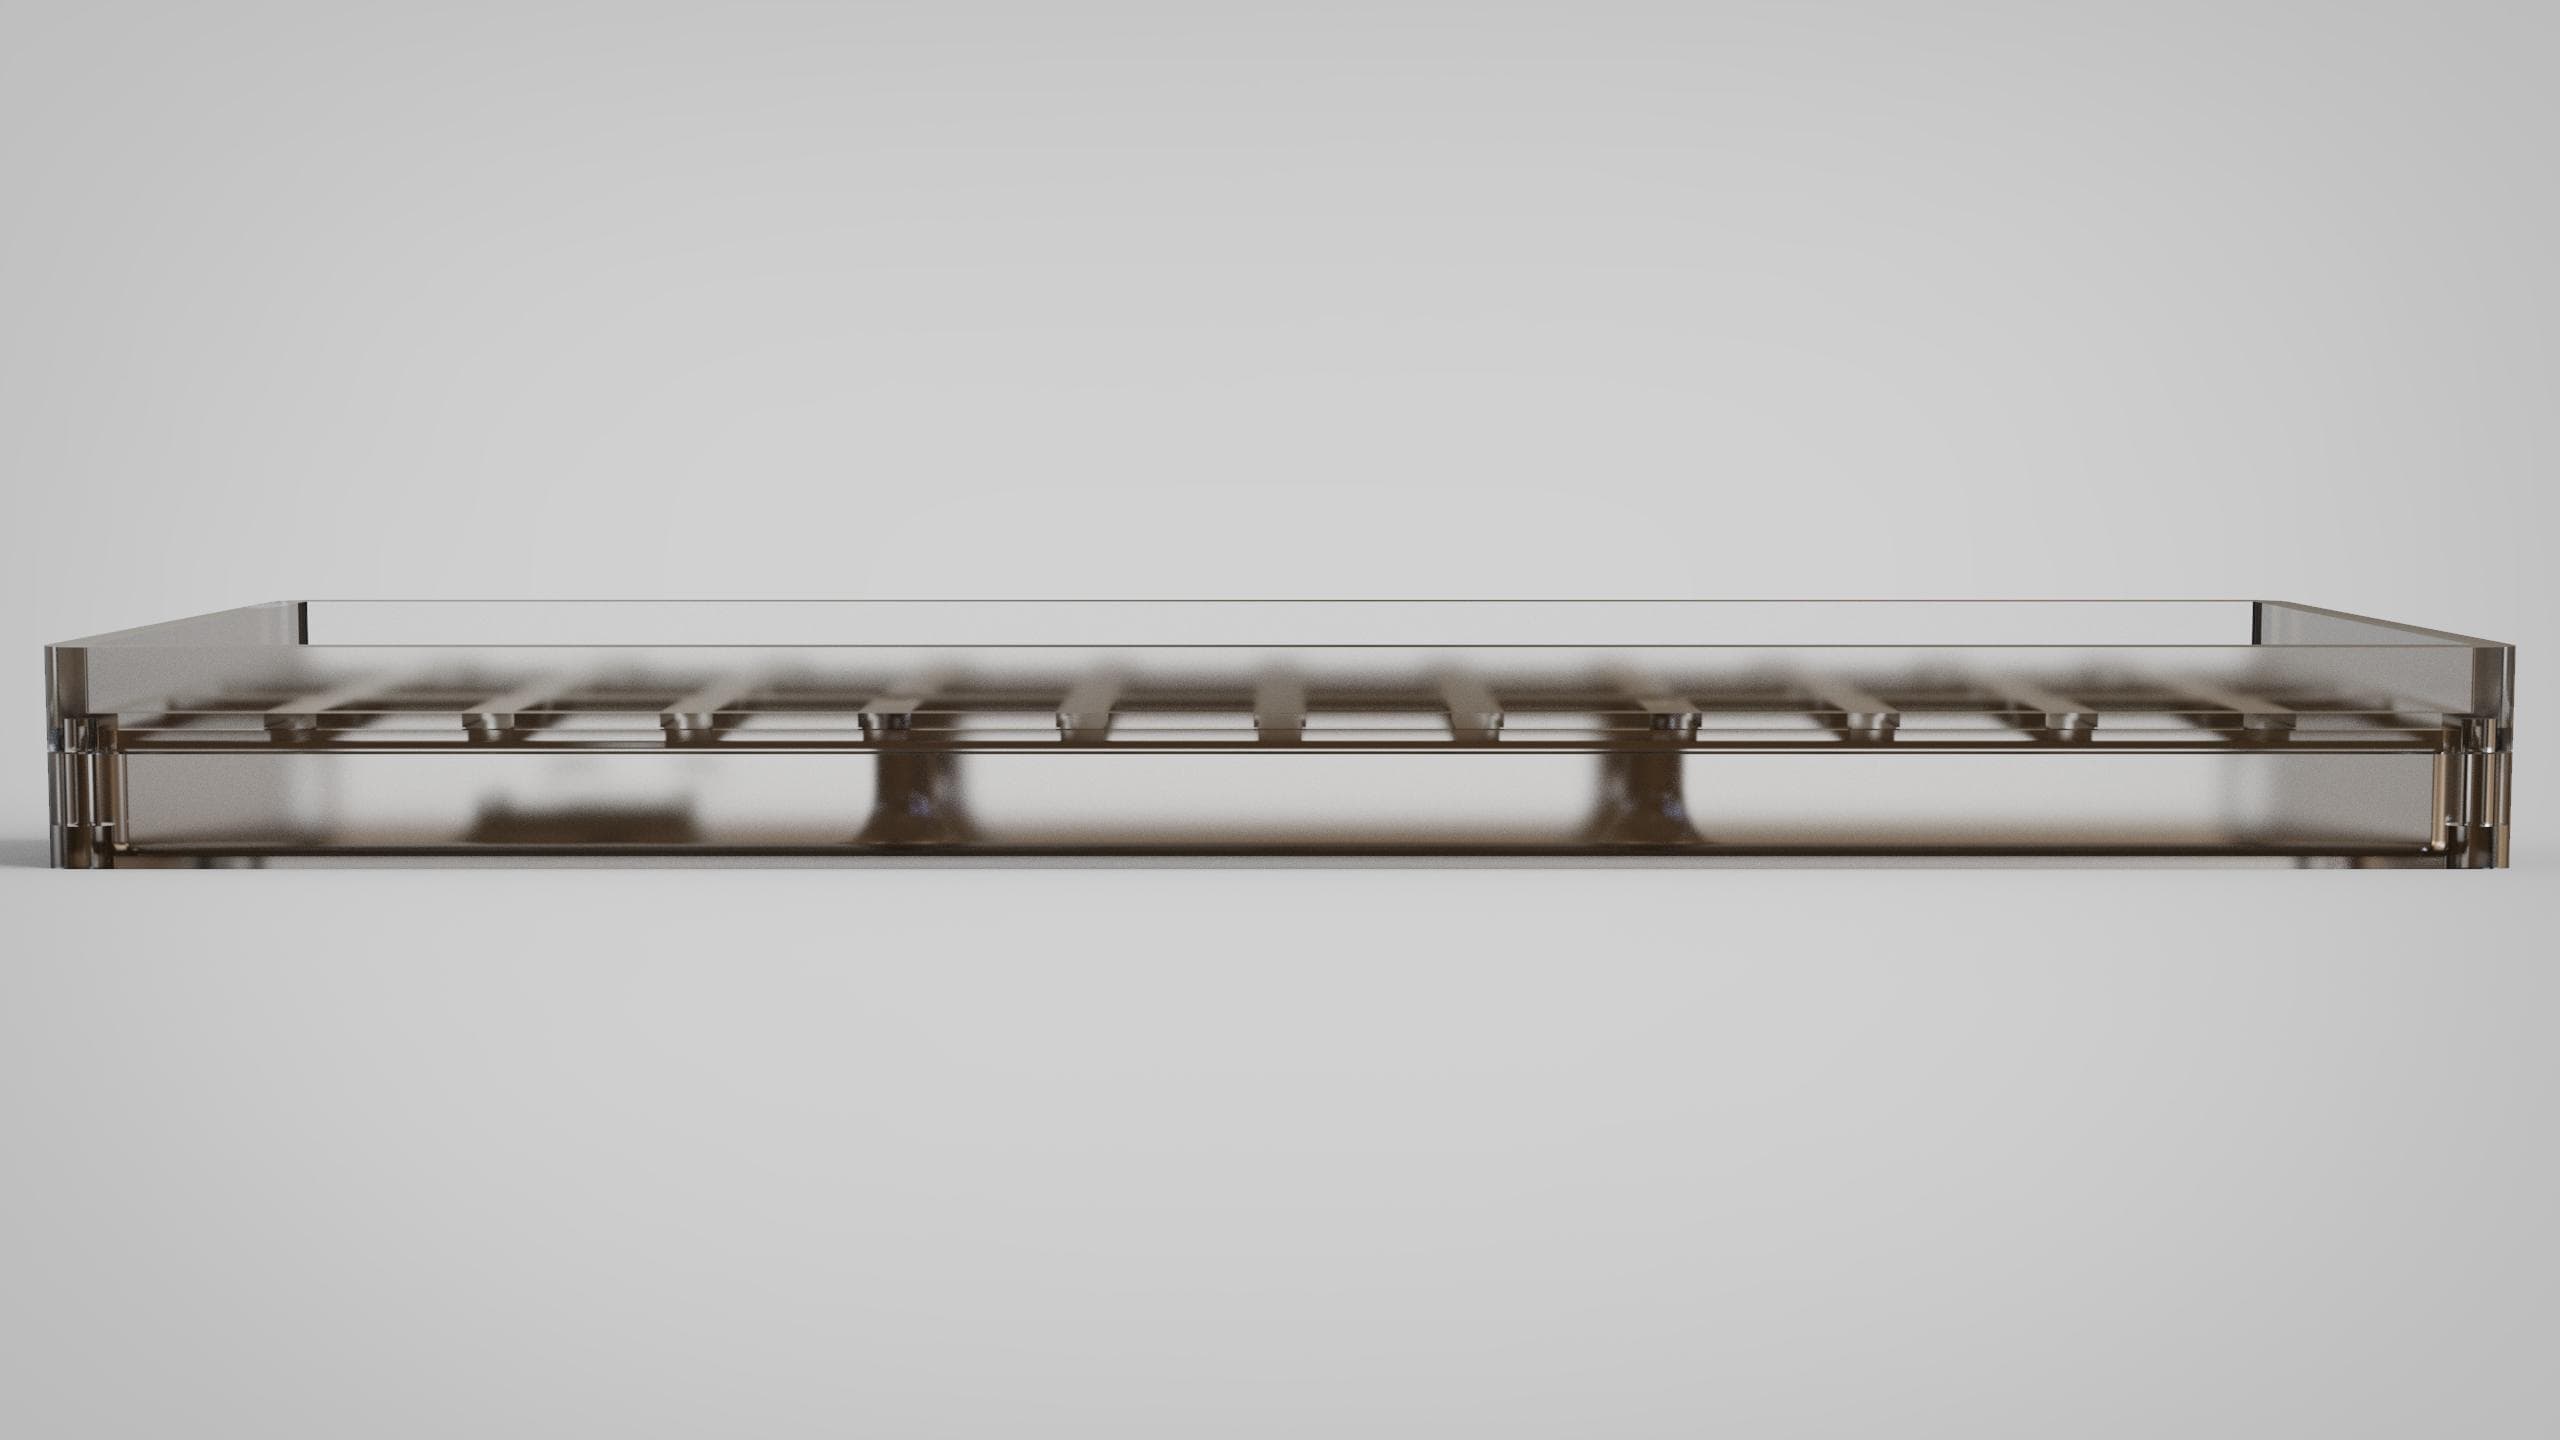
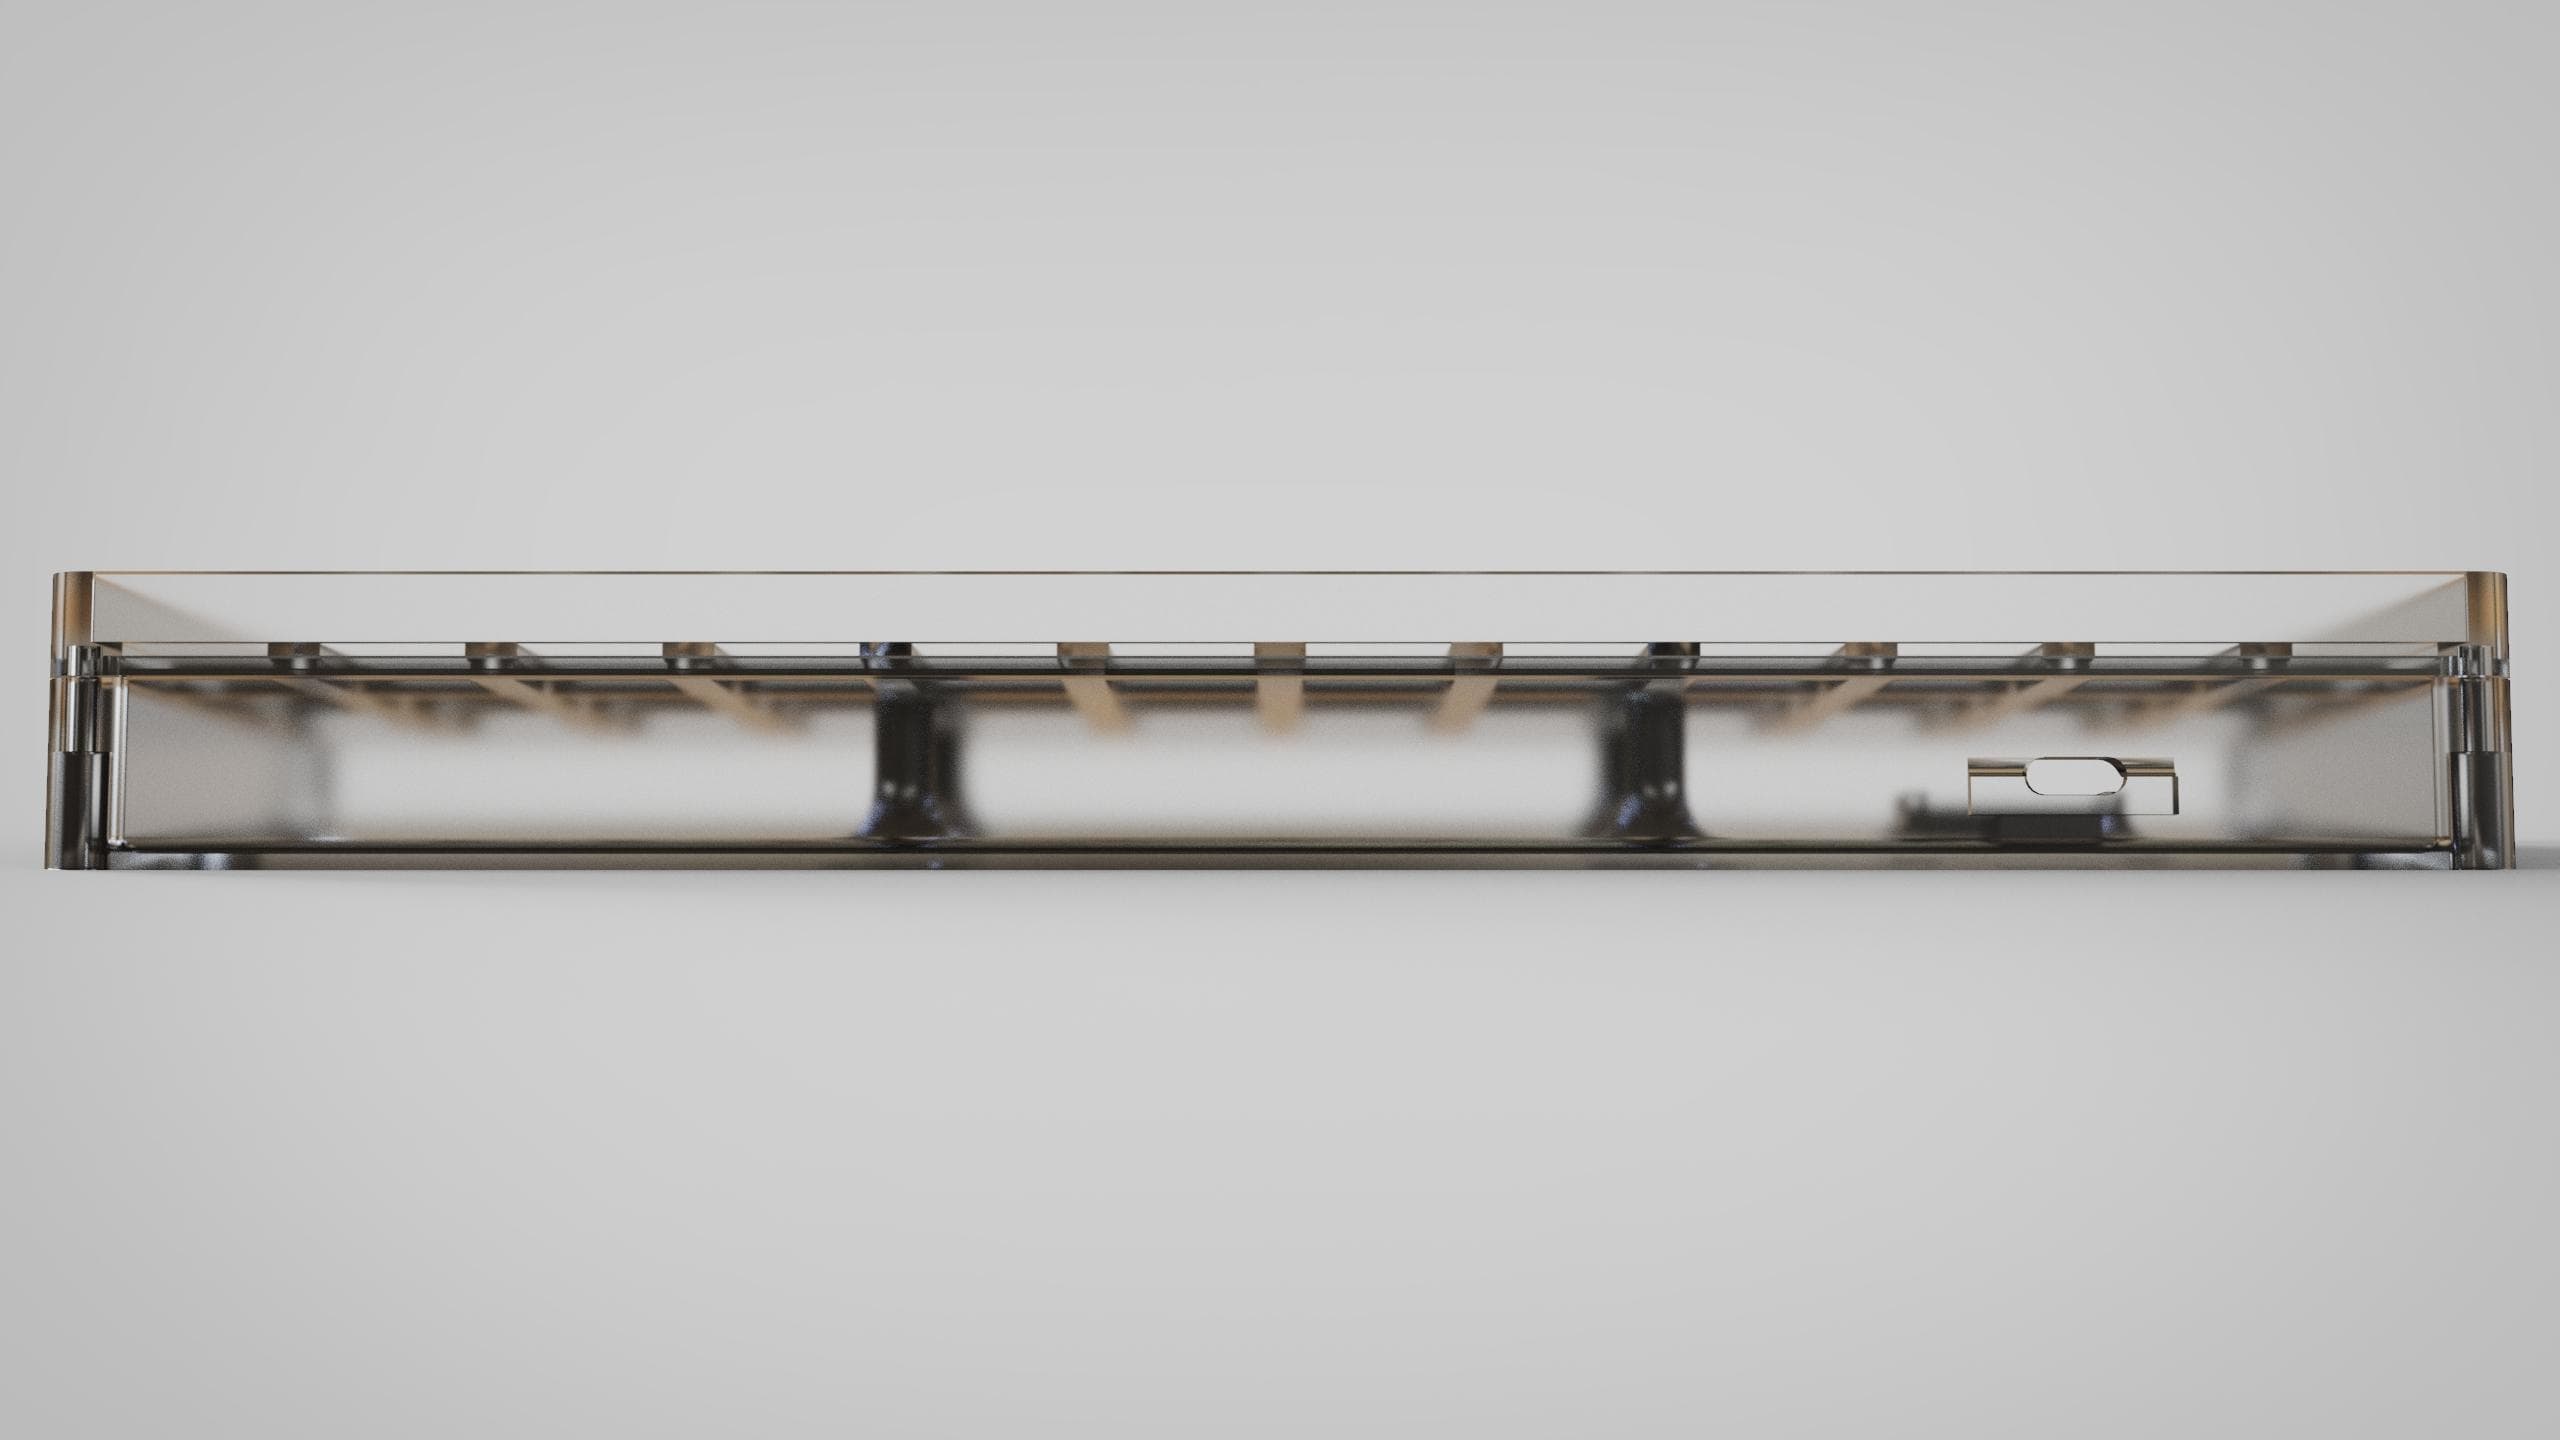
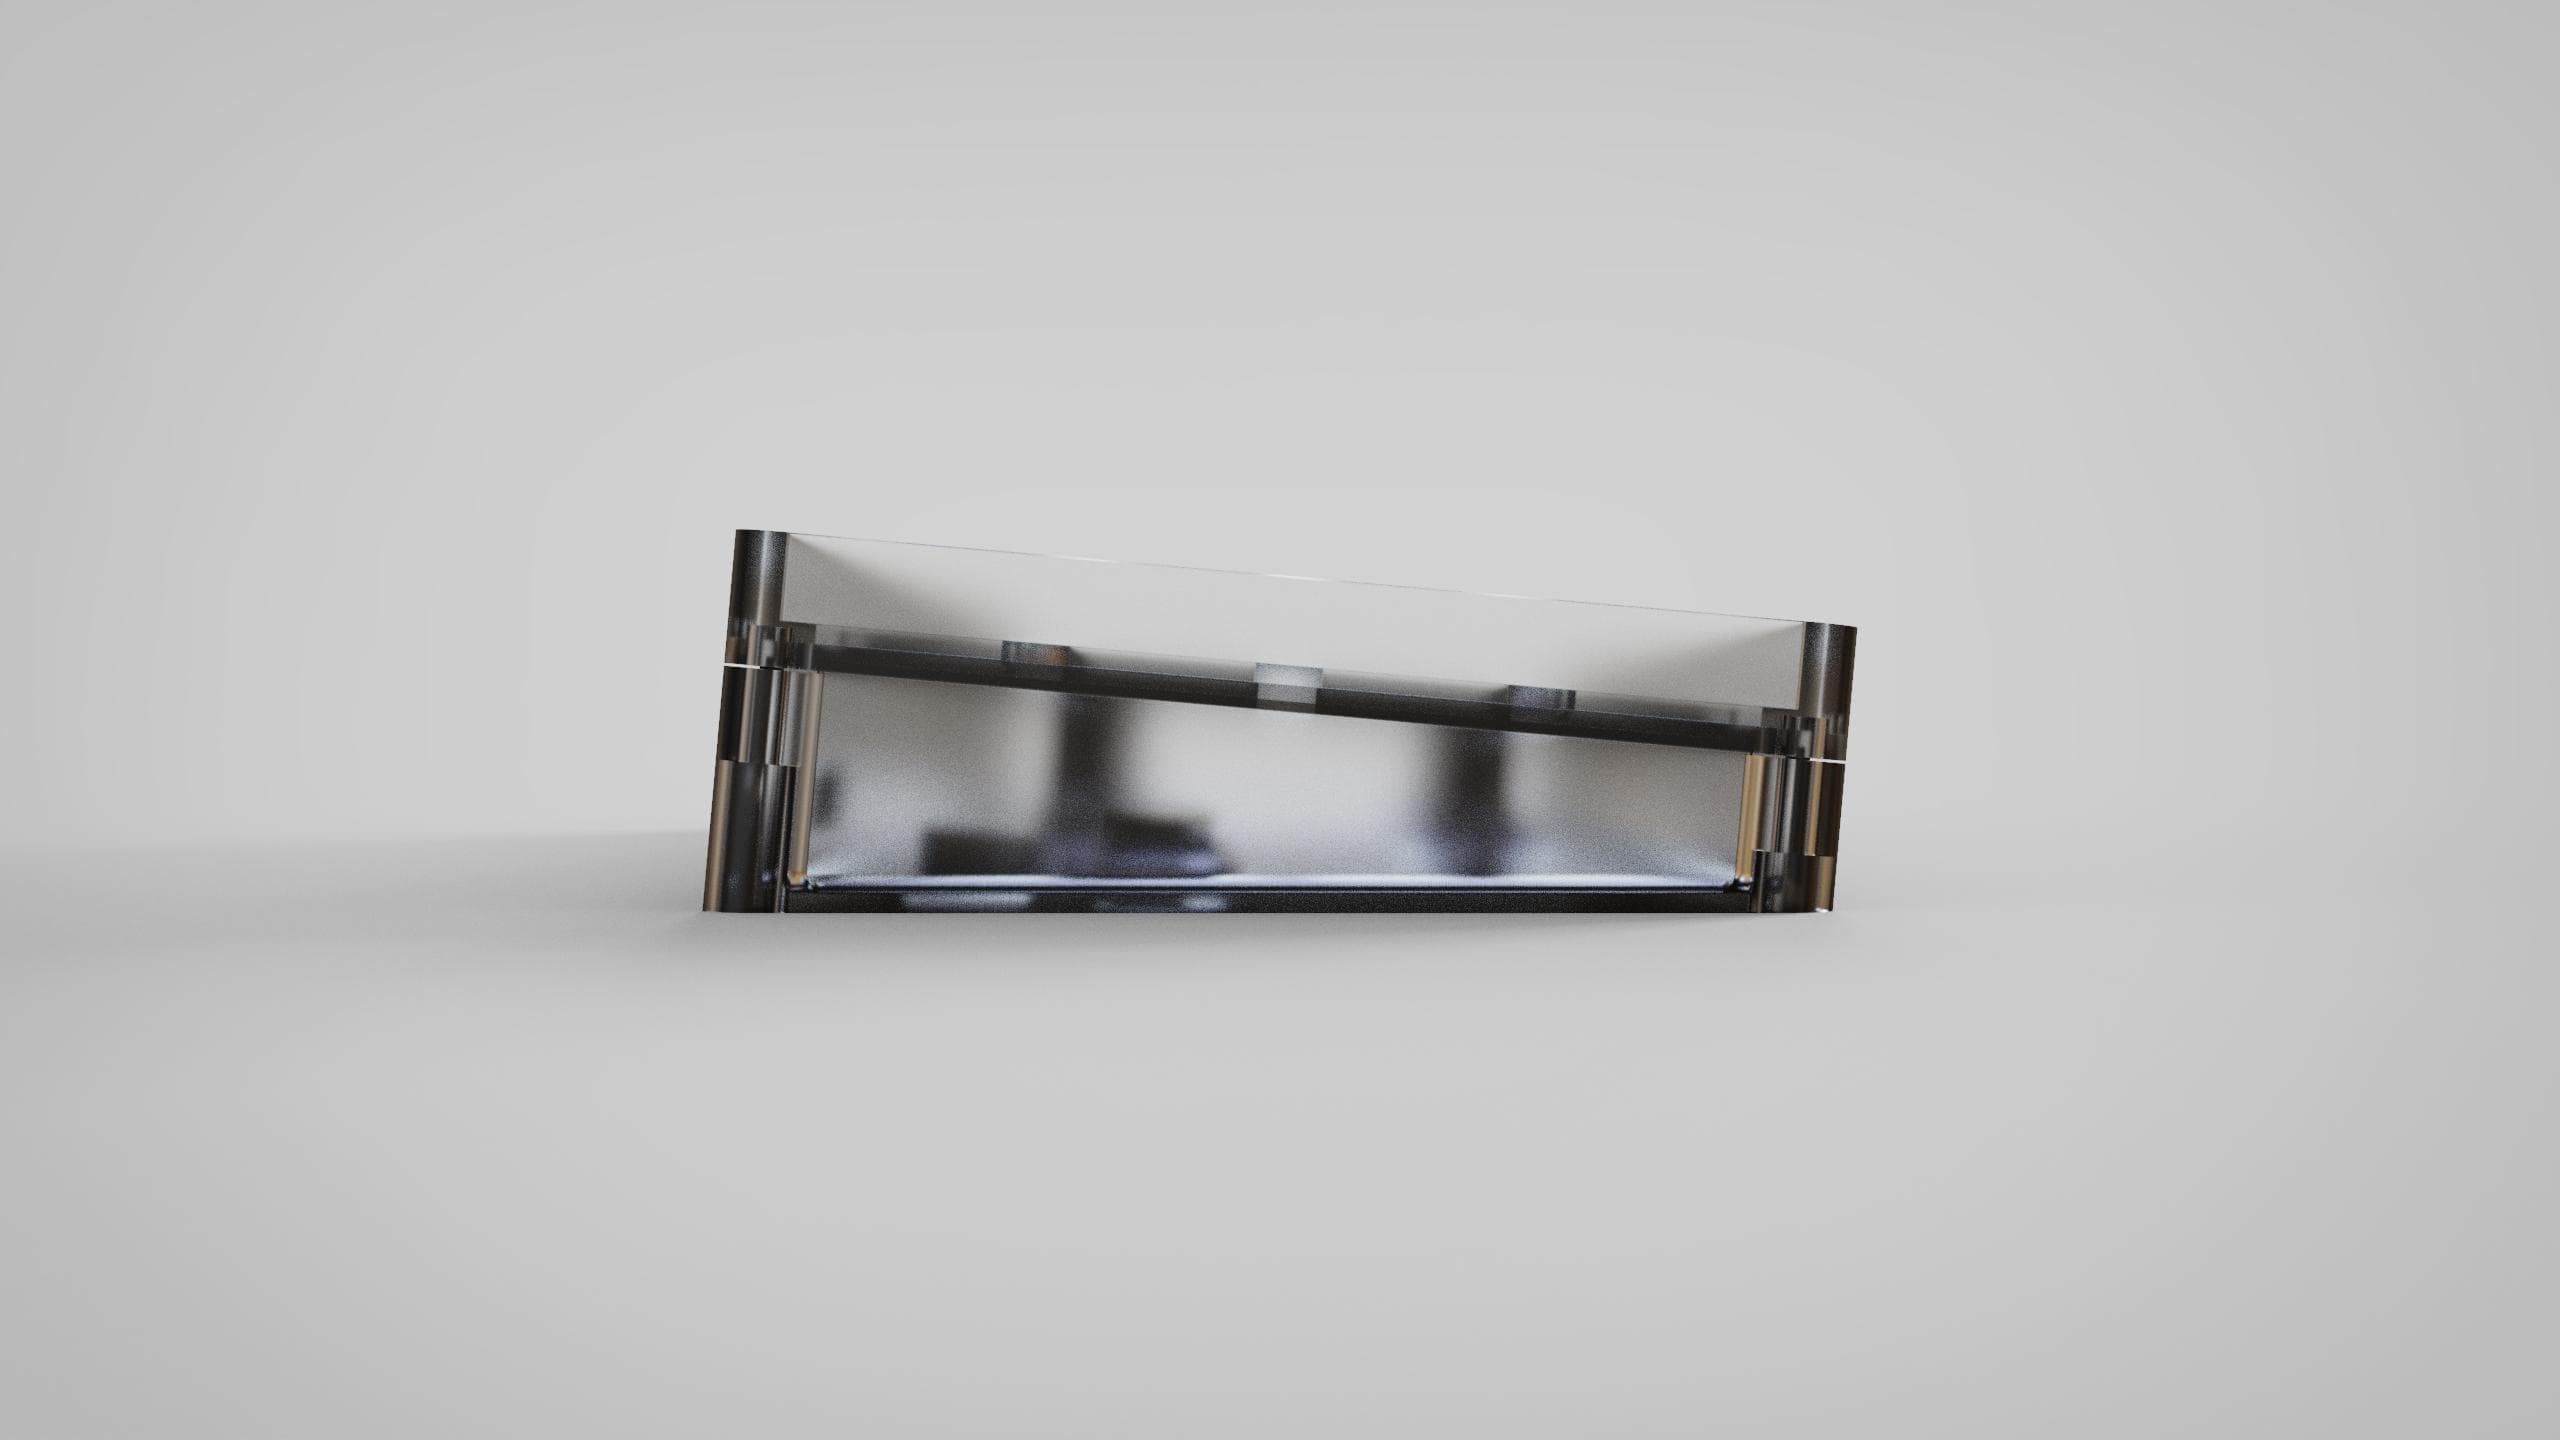
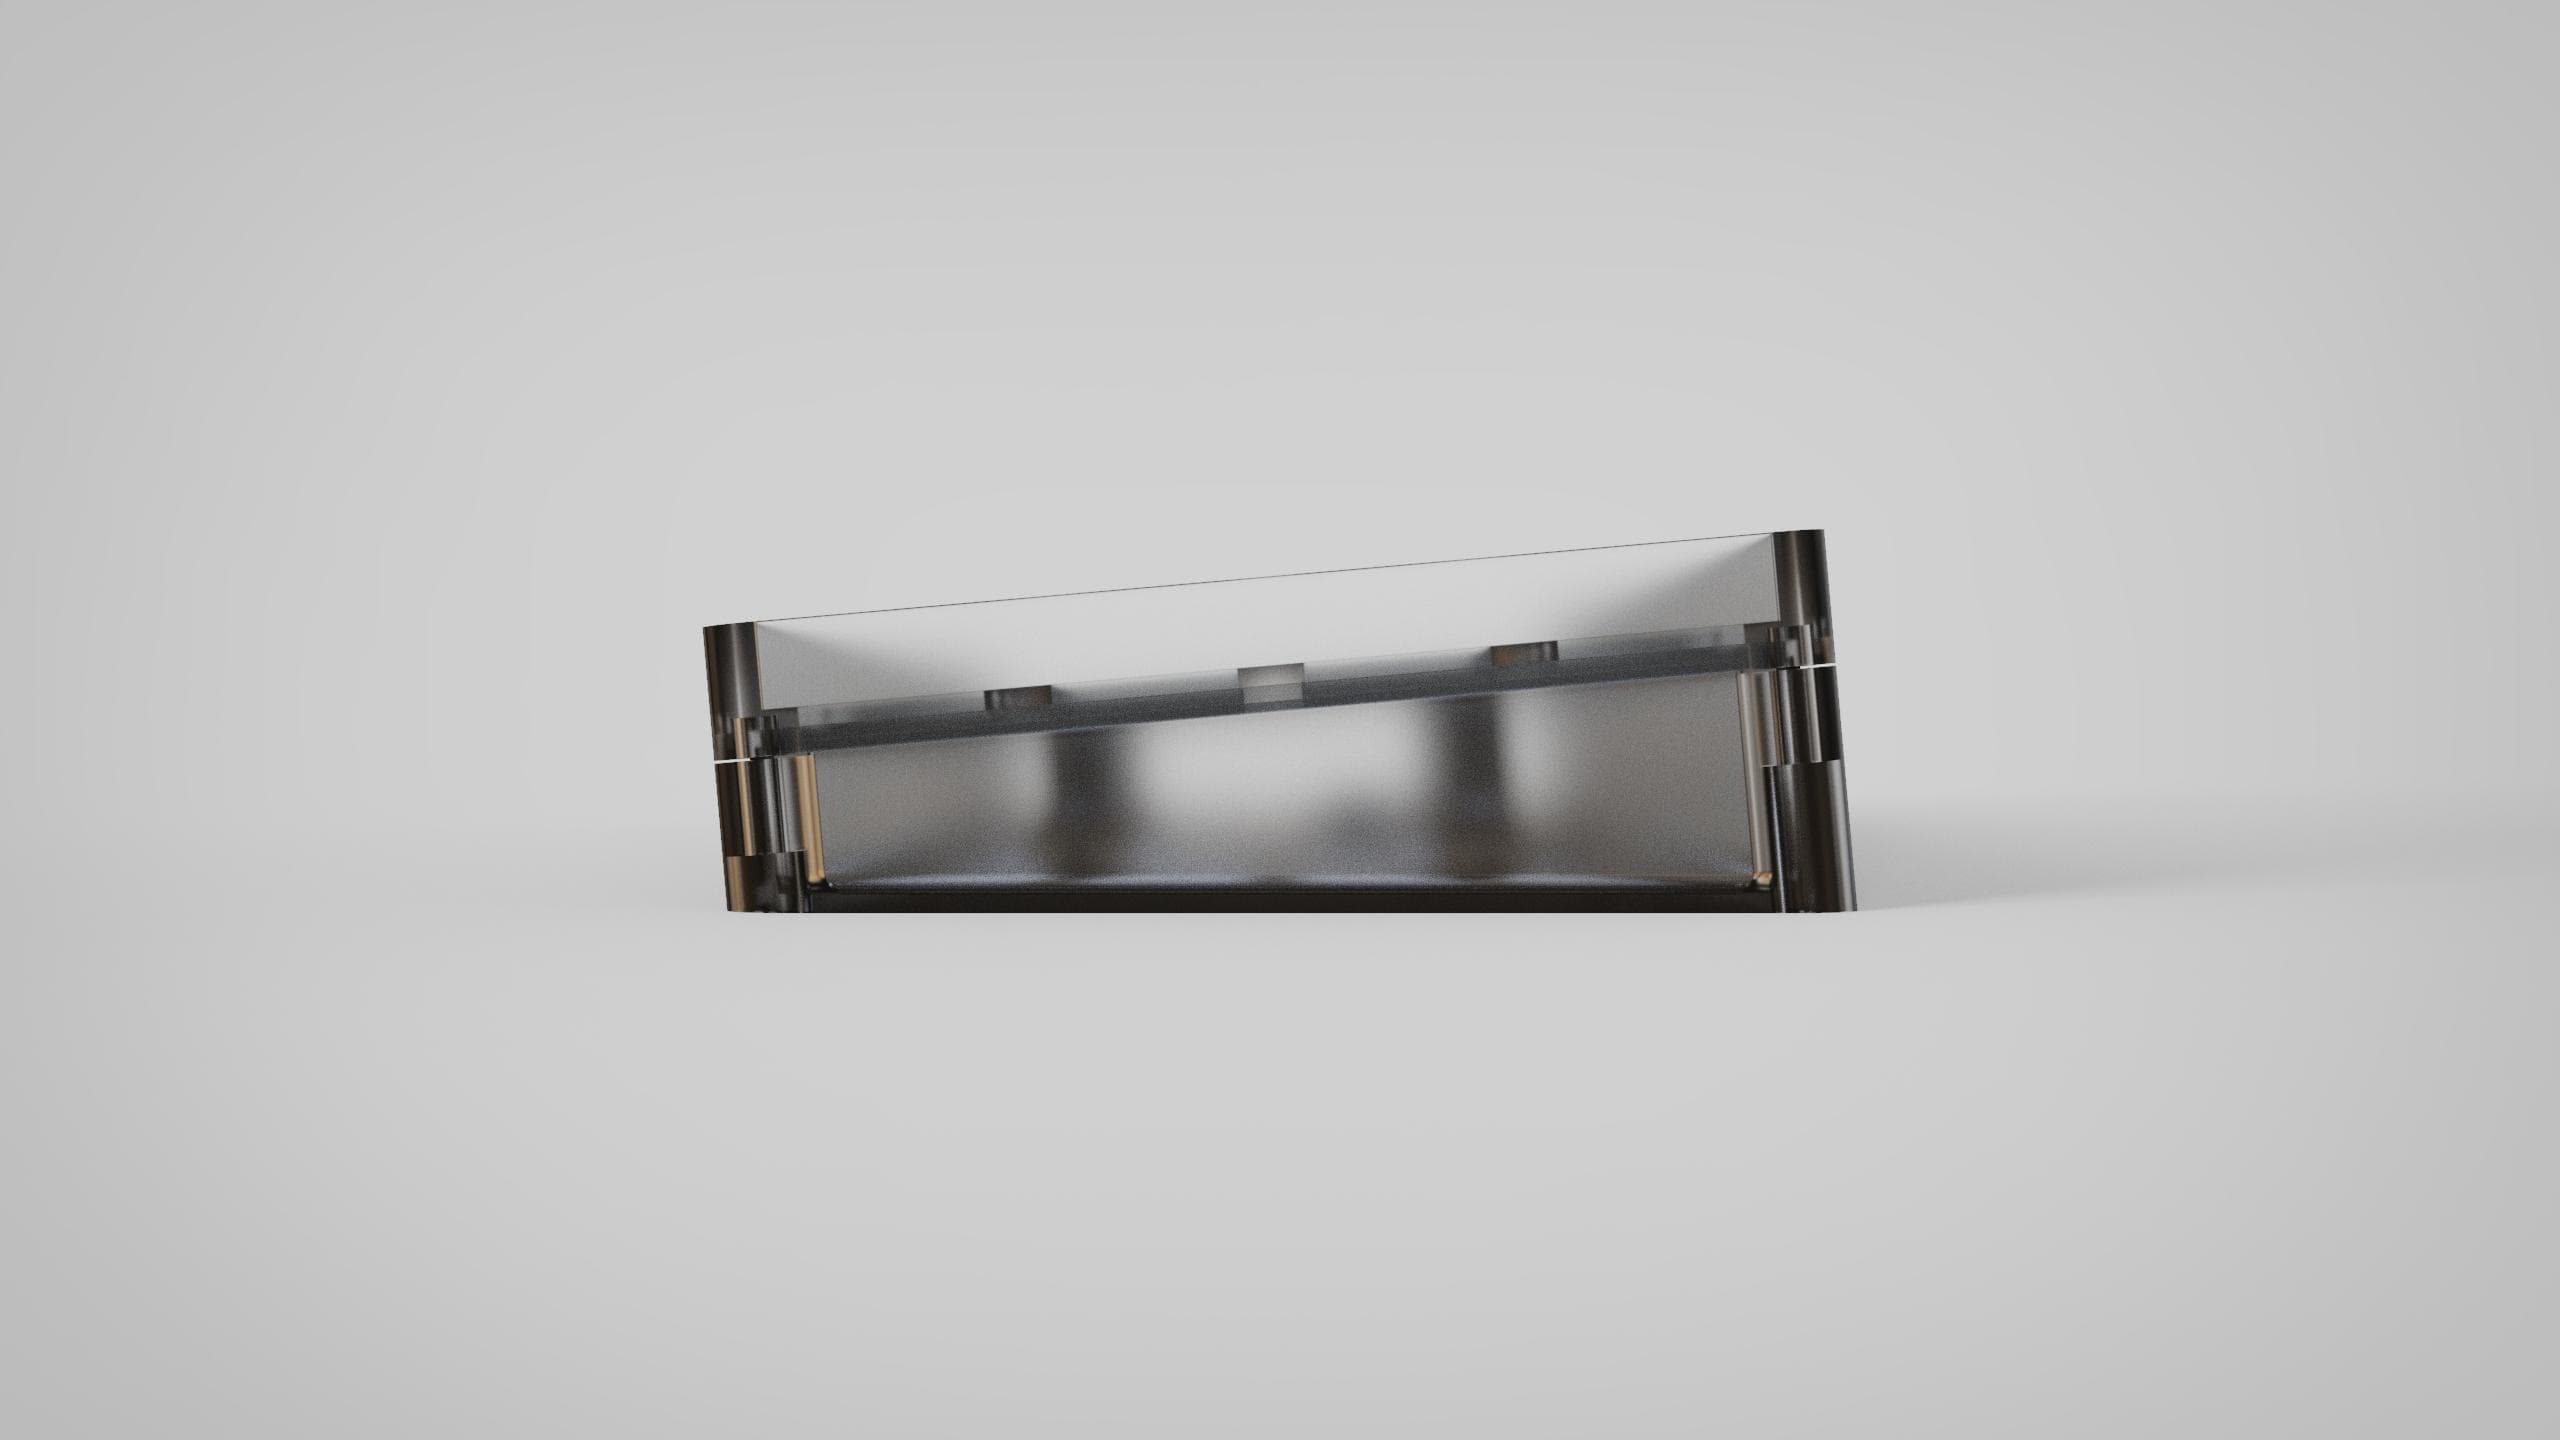
To preface this, all of the pictures included in this post are renders of the actual product. The final result depends on the resolution and 3d printing method chosen, the post processing and so on.
Description
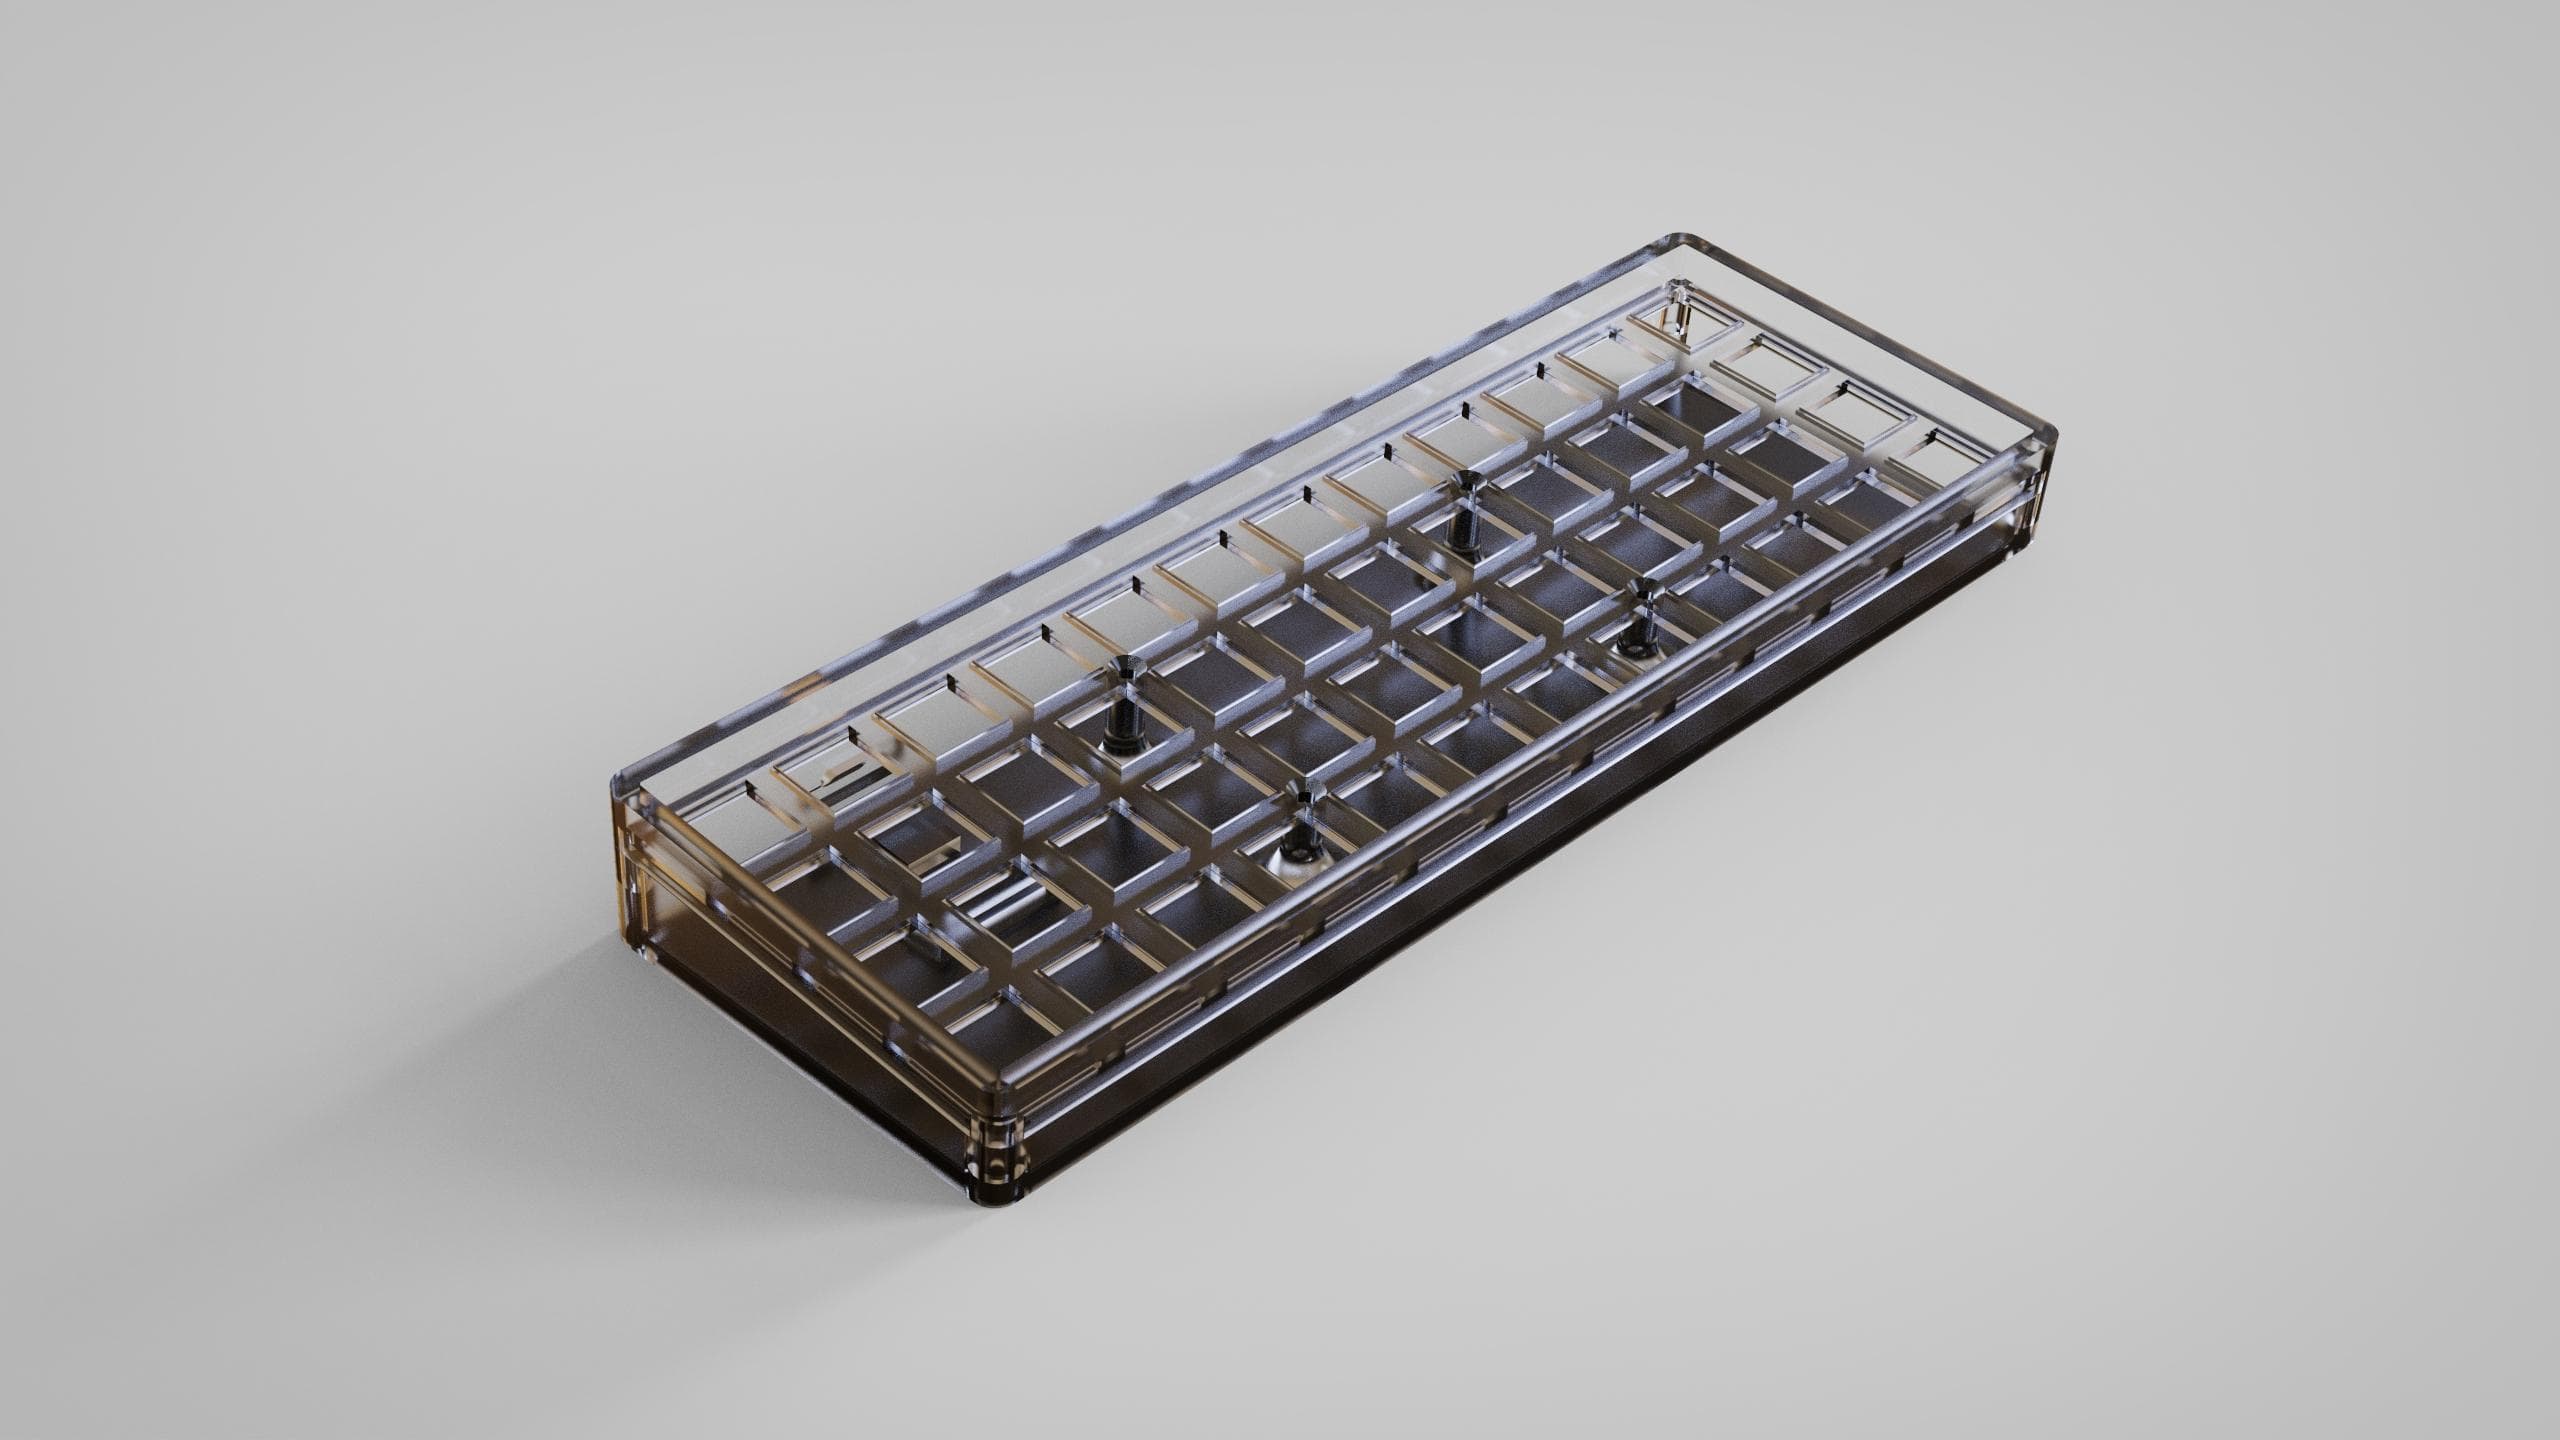
The VOID40 is a 3d printed 40% ortholinear keyboard, inspired by the Planck.
Just like the Planck, the VOID40 has a 12x4 ortholinear layout and aims at delivering the same typing experience and ergonomics, but at a much lower cost.
The entire case is 3d printed and the switches are handwired into a matrix that uses an Arduino Pro Micro, based on the ATmega32u4 microcontroller, to run QMK, the feature rich, open source firmware, that powers many if not most hobby and enthusiast grade mechanical keyboards nowadays.
As I imagined it, the VOID40, the budget friendly 40% mechanical keyboard, has an MIT layout (the bottom row has a 2u spacebar, for a total of 47 keys), and a rotary encoder replacing the most upper left key, which can be configured to do whatever the user might want, be it volume control, page scroll or as an alternative to alt tab, for quick switching between apps.
Challenges
Because the VOID40 was designed to be 3d printed, the print bed surface was the main limitation around which it was created. The top and bottom parts of the case had to fit the bed of an Ender 3, which has the physical dimension of 235x235mm.
Another consequence of this limitation is the way the two parts of the keyboard are assembled; the top and bottom parts are held together by a total of eight screws. Four countersunk screws go straight through the top plate, and thread into four posts on the bottom case, while the other four remaining screws thread through the underside of the bottom case, and into the corners of the top plate.
Once all of the screws are tightened the case is quite rigid, but because of the limited ammount of space, the screws thread directly into your material of choice, be it PLA, PETG or ABS, so if too much force is applied the threads might get stripped. Ideally the parts would've had some brass threaded inserts, but that's another challenge for another day.
BOM
- 47/48 diodes (tme.eu)
- 47/48 cherry mx style switches
- 24 AWG (0.5 mm) wire
- Pro Micro
- EC11 Rotary Encoder (optional / I used a 15mm EC11 clone, mounted to the plate using this adapter)
- 4 M3x10 countersunk screws that go through the top case (tme.eu)
- 4 M3x10(13mm overall length, 5.5mm diameter head) allen head screws that go through the bottom plate (tme.eu)
- hot glue for securing the pro micro to the bottom case(optional, but recommended)
STL Download and QMK Fork
The STL files can be downloaded from Github, along with a QMK fork that contains a basic keymap and experimental VIA Configurator support. Follow the link above for downloads and more info.